Android API Pentesting Setup
This blog covers a short setup guide for how to setup test environment of Android Pentesting
To setup android API testing environment, We either can have a Android Application build with OKHttp or Chucker to log all Web/API request and response from that application.
Or For an efficient testing, we can setup Burpsuite proxy
The Emulator
For the Android emulator i choose the one that come with Android Studio
- After setting up the IDE, open an Empty Project
- On the right-most side go to
Device Manager - Click on
+(Add a new device) thenCreate Virtual Device
For me Pixel 6 with API 31 is kind-of working Good (as of 2026)
Root vs Non-Root
- If you want root device, go with the one without Play Store icon.
- We can also root the one with Play Store, using Magisc
Setting Up Proxy
For this i am going with Burpsuite Proxy.
Generate CA Cert.
- Open
Burpsuite, underProxygo toProxy settings - Add a new
Proxy listeners,Bind to port = 9090and either chooseAll interfacesorSpecific addressand choose that is ping-able from the Emulated Android Device. - Next, Click
Import/export CA certificate - Under
ExportChooseCertificate in DER format, click Next and choose a place to save the file with filename that ends with.derat the end.
As of 2026, Android does allow users to install certificate directly from the file but it’s stays as User Certificate which the system does not trust when deal with some application level network traffic.
For that we need to install the certificate as System User. which we will do in the following steps
In terminal run
1
2
3
4
5
6
7
   openssl x509 -inform DER -in burp.der -out burp.pem

   # This command will give us a output that we need to rename our file with
   openssl x509 -inform PEM -subject_hash_old -in burp.pem | head -1
   # Most of the time it's 9a5ba575 for burpsutie certificate

   mv burp.pem 9a5ba575.0
Install the Certificate
To install the certificate system wide, we need to place the certificate in a specific android system directory
1
/system/etc/security/cacerts/
To write to that file system or directory, even though we have root privilege, the system need certain write permission, which is possible when boot-loader is unlocked
But for emulated Android Device we can and have to start the emulated device with the -writable-system flag
For this we are going to use the emulator binary that comes inside Android SDK Tools For Linux the path is $HOME/Android/Sdk/emulator, we can export it to our global PATH variable export PATH=$HOME/Android/Sdk/emulator:$PATH
1
2
3
4
5
6
7
8
9
10
11
12
13
14
15
16
17
# List all emulators that we have downloaded from Android Studio
emulator -list-avds

# Choose one that we want to use and run
emulator -avd Pixel_6 -writable-system

# One the system boots up run
adb root

# Now to make every system path writable run
adb remount

# and reboot your device
adb reboot

# After reboot do the last two command
adb root && adb remount
If we see remount succeeded that means it worked.
Now we can place our certificate, where all the system level certificate exist.
1
adb push 9a5ba575.0 /system/etc/security/cacerts/
Sometimes, the 9a5ba575.0 will have -rw-rw-r-- permission set to it. This creates issue for the certificate to be recognized.
We have to change the permission to -rw-r--r--
1
adb shell chmod 644 /system/etc/security/cacerts/9a5ba575.0
NOW RESTART THE DEVICE with adb reboot
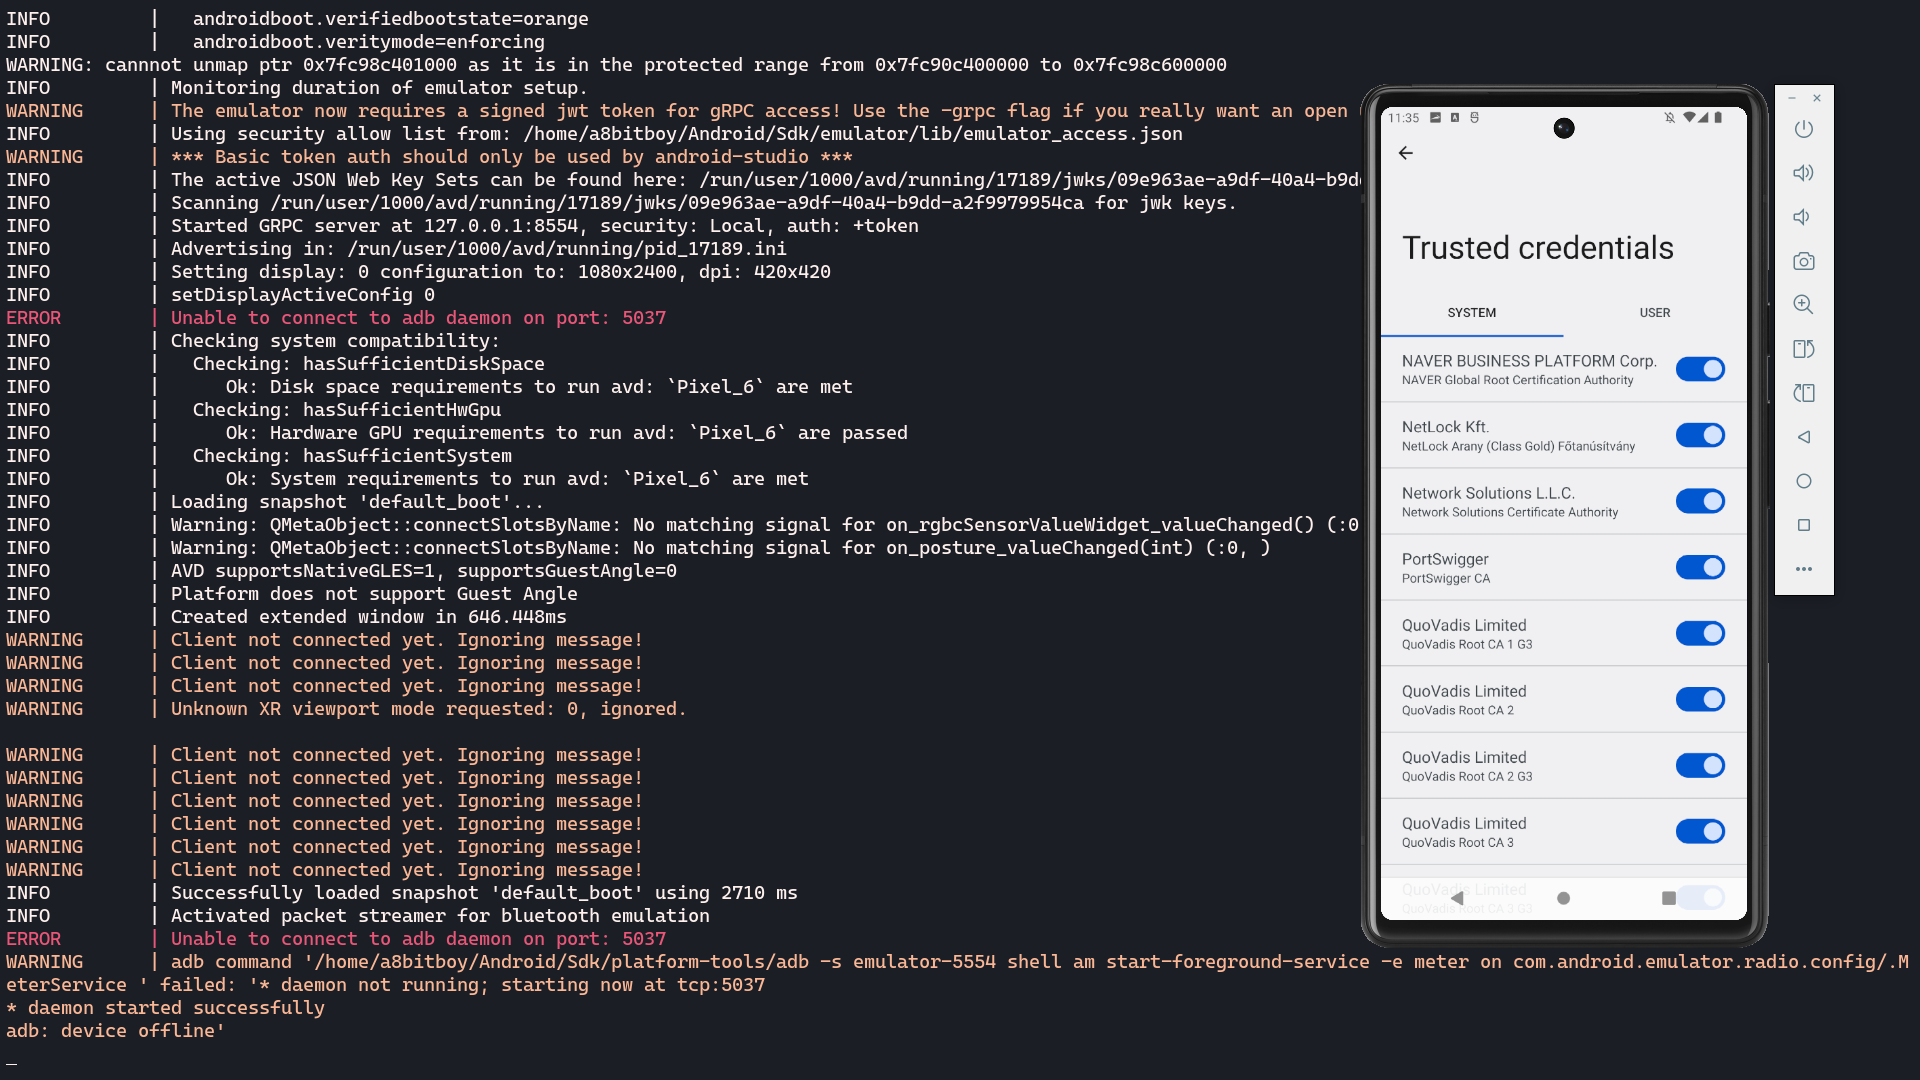
To verify go to Settings and search Trusted credentials which is under Security > Encryption & credentials. Inside it under SYSTEM we can see the PortSwigger Certificate.
The setup might only stays as long as the device is running, after closing and booting it again might lead to loosing the certificate settings, this can be overcomed by taking a snap-shot of the current state of the machine.
Setup Manual Proxy
- Go to Connected WiFi Settings (in Network details) click on the Edit button.
- Under
ProxyselectManualand add your Hostname (e.g.192.168.0.103) and port (e.g9090) and click save
🤞 if everything is done right, it should work and send all the network traffic through burp proxy.
QoL for Testing
When testing, we often need to go back and forth between the Android Emulator and Burpsuite
If we want the Emulator Screen to always be on top we can run the following in Linux
1
2
3
wmctrl -r "Android Emulator" -b add,above

# sudo apt install wmctrl
Sources
This is possible due to UnderSecured YouTube Chanel and it’s Android Hacking Playlist.